摘要
本文介绍了使用 Github Actions 对 Hexo + Github Pages 博客进行自动部署的方案。考虑到几个月以来 Github 对 HTTPS 协议的限制,本文也列举了笔者的一些失败的实验经历,以供避雷。
关键词:Github Actions,Hexo,Github Pages
为什么要自动部署?
将部署任务从 PC 端转移到云端(例如 Github)的好处包括:
- 多终端写博客时只需要维护博客 markdown 文件本身,而不需要维护生成的
public 目录;
- 在性能欠佳的终端(例如古早的 windows 笔记本)可以只负责维护博客内容,并将其 push 到 Github 仓库,不需要每次更新都花费长达二十分钟的时间来生成并上传全部的文件。
搭建 Hexo + Github Pages 博客
这一部分的内容在网络上有许多介绍,本文不再赘述。
获取 Personal access tokens
这一部分的内容在网络上有许多介绍,本文不再赘述。记得保存生成的 tokens,因为该 tokens 只会出现一次。
获取 tokens 之后可以看到如下界面:

修改博客配置
修改博客根目录下的 _config.yml 文件中这部分内容:
1
2
3
4
5
6
7
8
9
10
| deploy:
type: git
repo:
github:
url: https://github.com/EagleBear2002/EagleBear2002.github.io.git
branch: main
token: $DEPLOY_BLOG
message: "hexo deploy"
batchSize: 10
concurrency: 10
|
添加 Github Actions
这一部分的内容在网络上有许多介绍,本文不再赘述。
设计 Actions 脚本
.github/workflows/deploy.yml 是 Actions 的脚本,脚本内容如下:
1
2
3
4
5
6
7
8
9
10
11
12
13
14
15
16
17
18
19
20
21
22
23
24
25
26
27
28
29
30
31
32
33
34
35
36
37
38
39
40
41
42
43
44
45
| name: Deploy
on:
push:
branches:
- main
jobs:
deploy:
runs-on: ubuntu-latest
steps:
- name: test token
env:
DEPLOY_BLOG: ${{secrets.DEPLOY_BLOG}}
run: echo $DEPLOY_BLOG
- name: Checkout code
uses: actions/checkout@v2
- name: Set Git identity
run: |
git config --global user.email "eaglebear2002@foxmail.com"
git config --global user.name "EagleBear2002"
- name: Setup Node.js
uses: actions/setup-node@v2
with:
node-version: 14
- name: Install Pandoc
run: sudo apt-get install -y pandoc
- name: Install dependencies
run: npm install
- name: Modify index.js
run: sed -i '24s/.*/ var endPos = link.length - 1;/' node_modules/hexo-asset-image/index.js
- name: Build and deploy
env:
DEPLOY_BLOG: ${{secrets.DEPLOY_BLOG}}
run: |
npm run build
npm run deploy
|
检查 Actions 执行结果
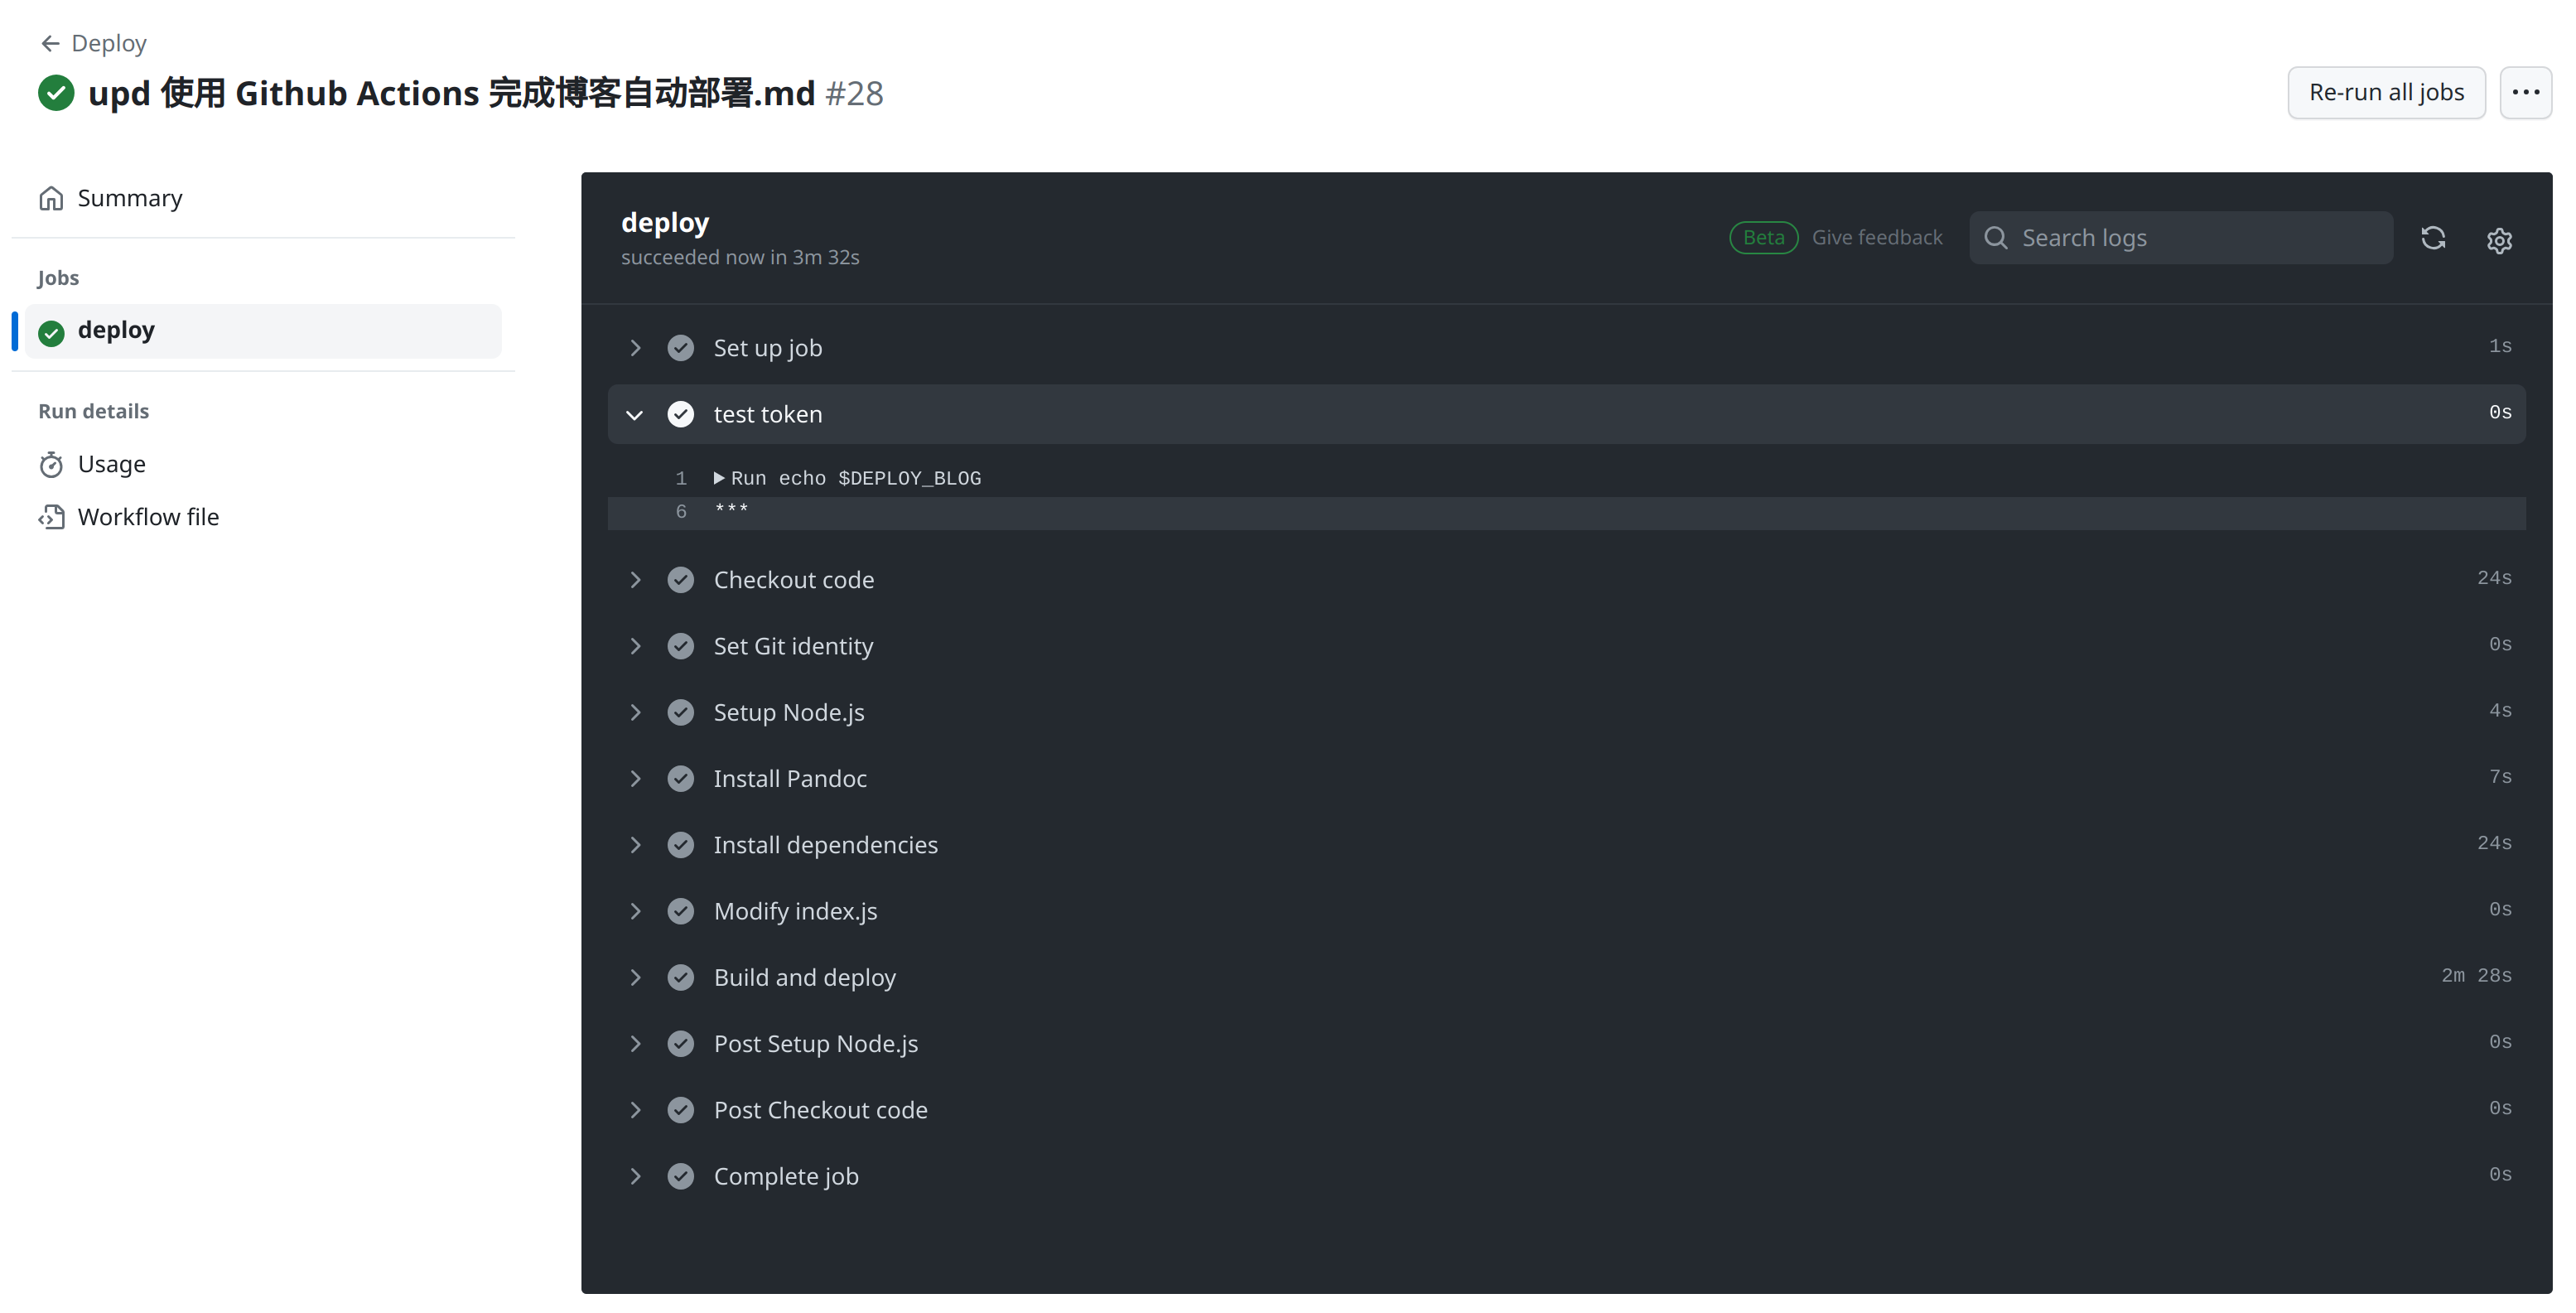
如果 Actions 运行成功,则会看到如下界面:

如果 Actions 运行失败,先检查 test token 步骤的输出结果,如果看到输出结果为 ***,可以认为 Actions 运行时成功从 secrets.DEPLOY_BLOG 获得了 token;如果输出为空,请检查这一步骤。


